Manufacturers can specify fully customised aluminium enclosures in very small batches. Read on to discover how
Step 1: What is the enclosure for?
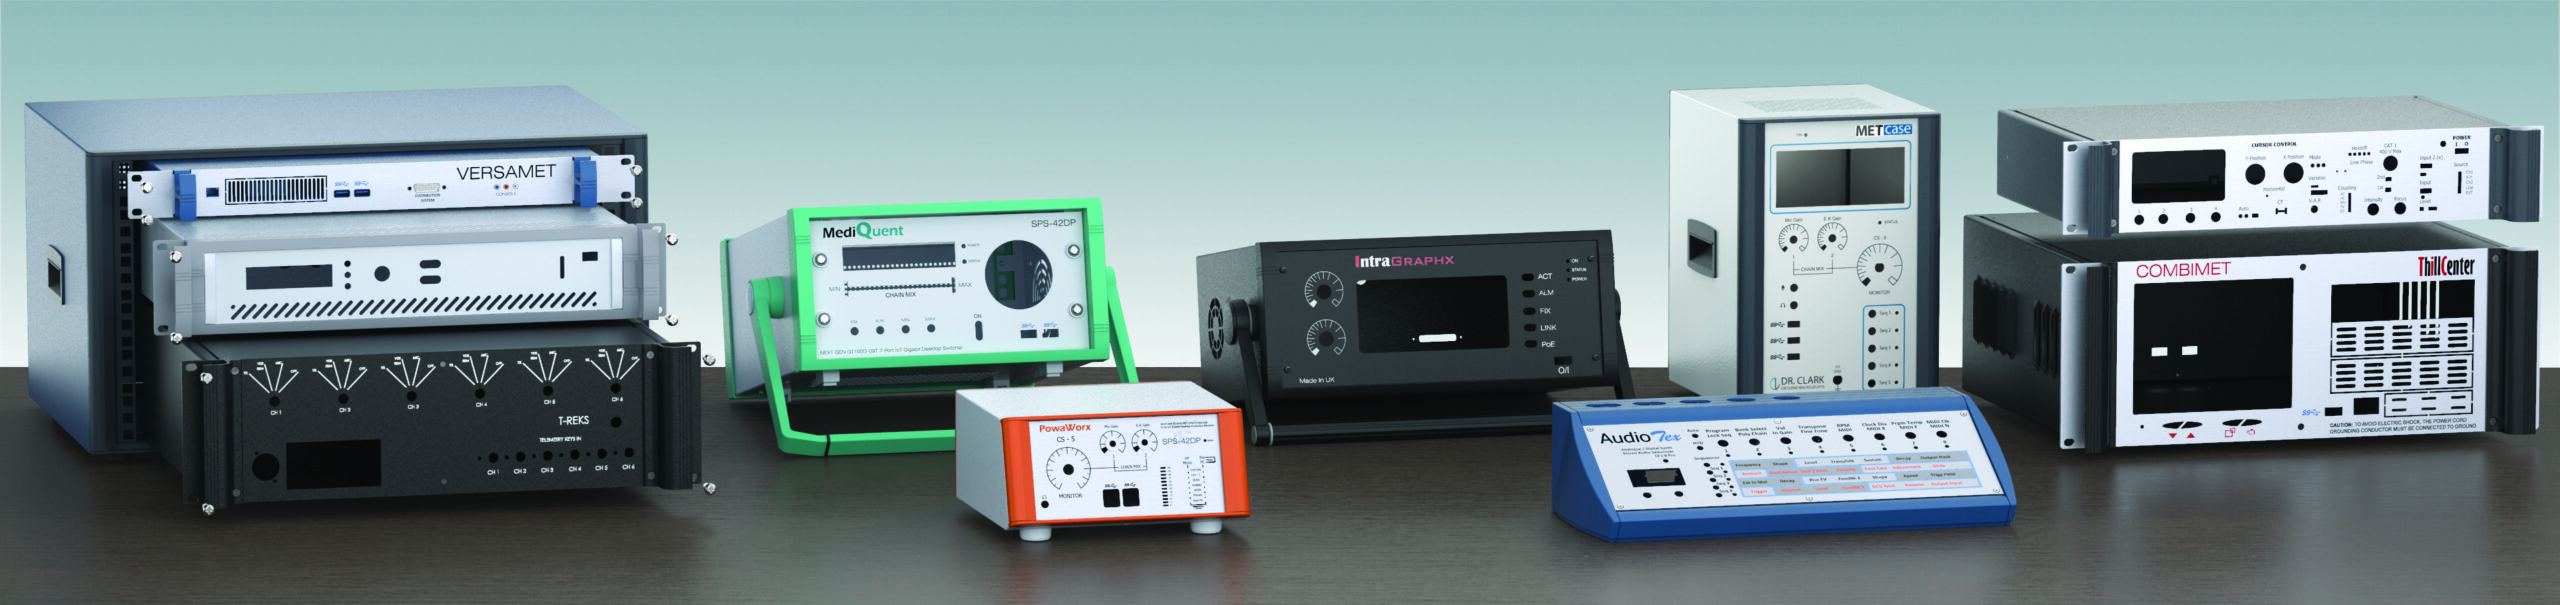
Consult a specialist enclosure manufacturer early in the design process to discuss the application and explore options which saves time, budget and stress. The following summarises the main options.
Nineteen inch racks and enclosures comprise standardised floor-standing or desktop mini-racks (typically heights from 3U to 42U) for mounting 19in subracks (84HP), chassis and cases.
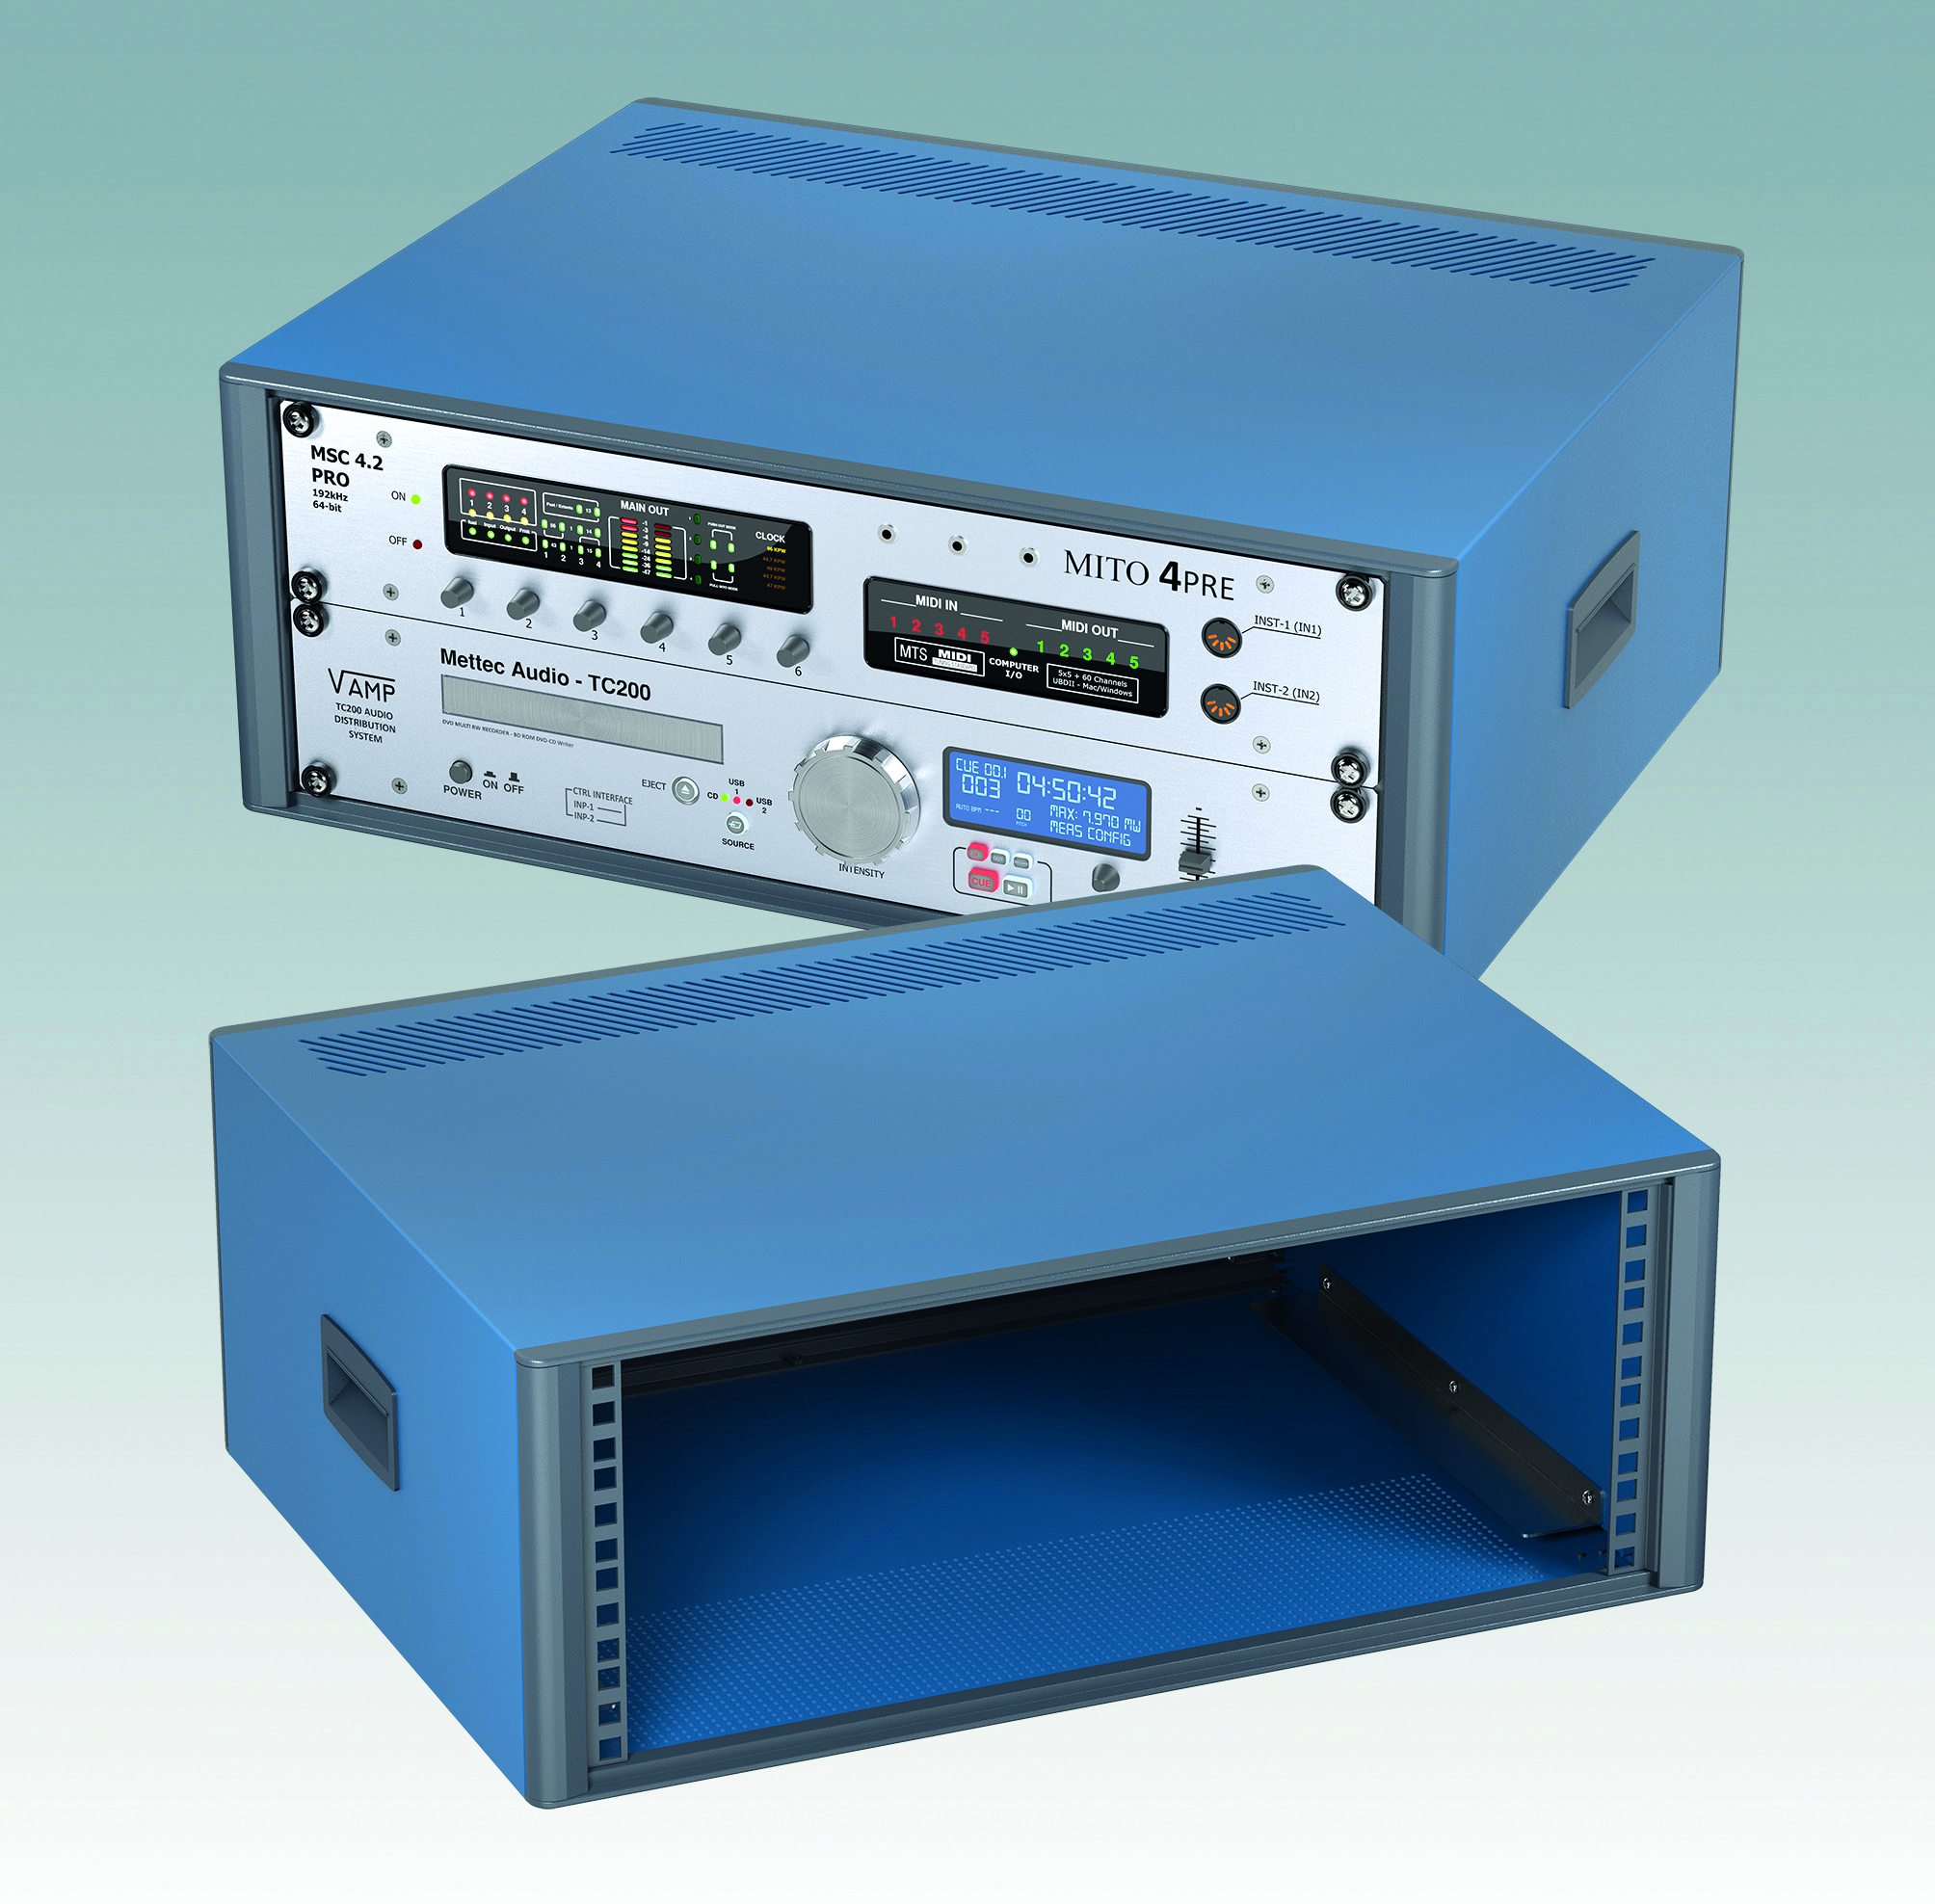
Nineteen inch rack cases are equipment housings for mounting in racks (typically in heights from 1U to 9U).
Then comes 10.5in half-width desktop enclosures which are compact standard housings for 10.5in subracks (42HP) and chassis (typically in heights of 3U to 6U).
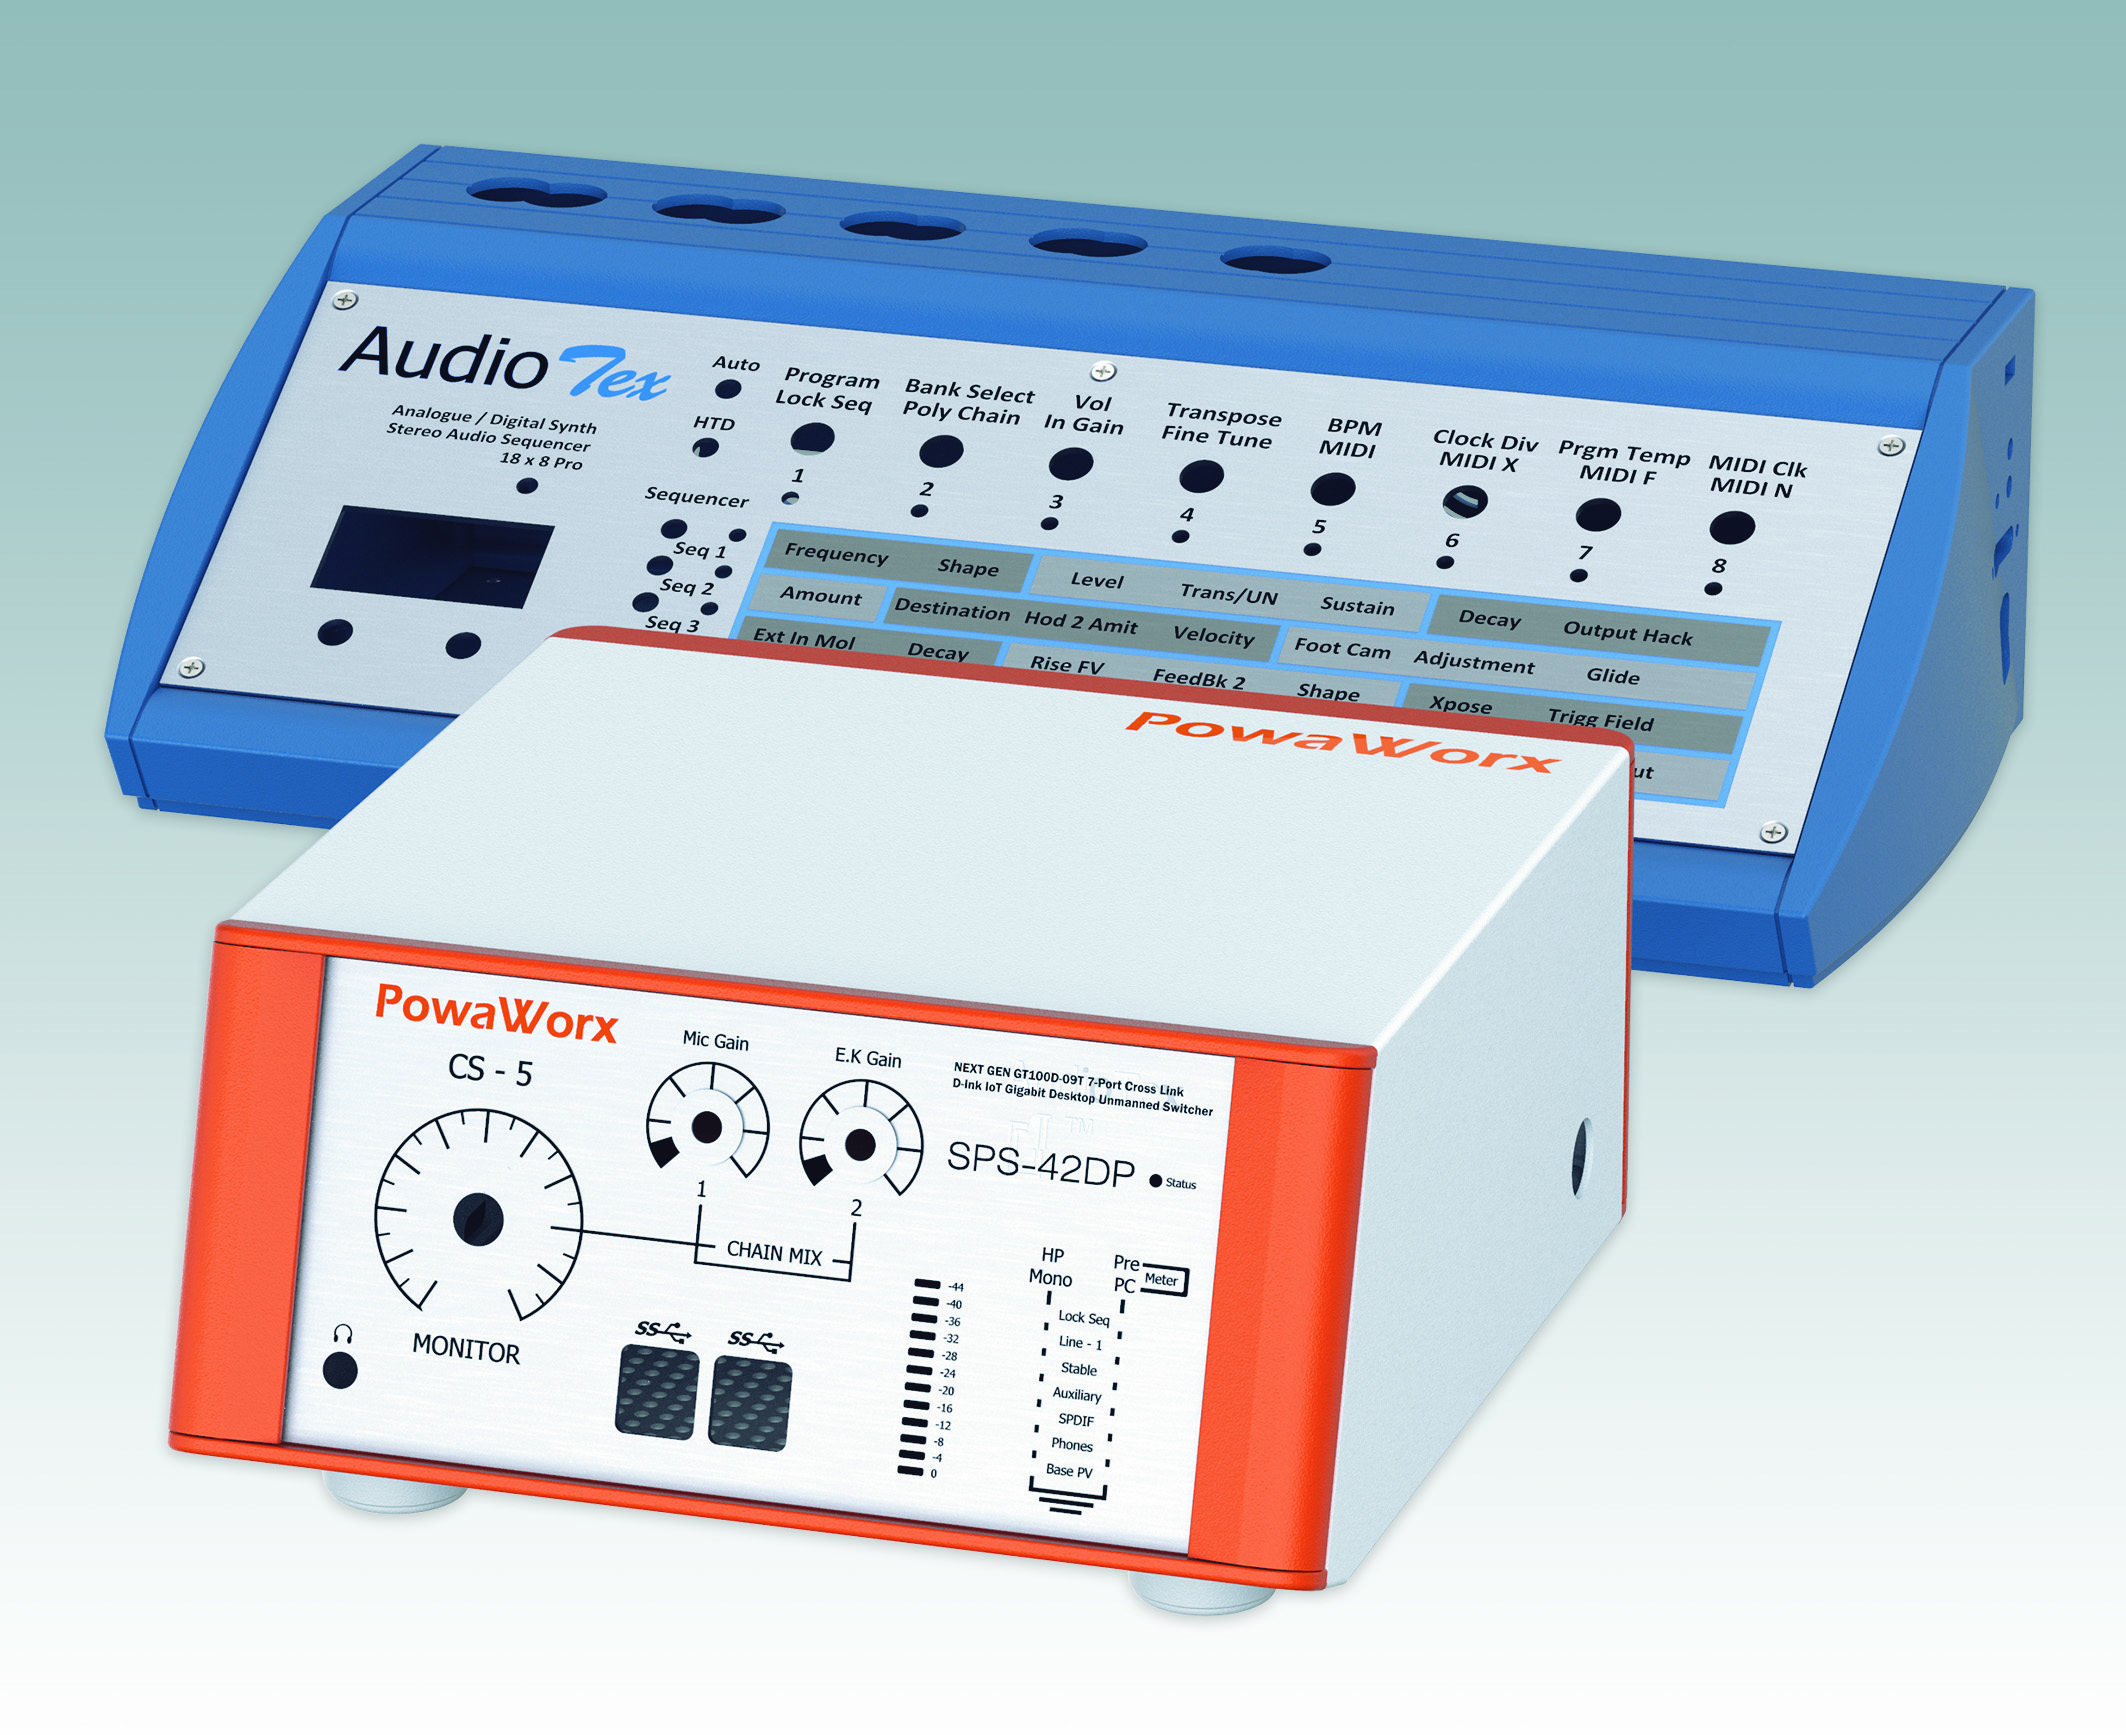
Desktop and portable instrument enclosures are usually available with or without a tilt/swivel carry handle which acts as a desk stand.
Sloping-front desktop enclosures offer an ergonomically inclined operating front panel for terminals and data-entry.
Finally, wall-mount enclosures, which can also be mounted on machines.
Note that standard enclosures are designed to be versatile. For example, a sloping-front desktop case can be ideal for wall-mount applications such as access control.
Step 2: How will components be mounted?
This consideration is important for installation and maintenance. PCBs that slide in/out on guide rails are faster to install and remove than boards mounted on pillars. Advanced instrument enclosures such as Metcase’s Technomet offer both options.
For 19in rack applications, how will users open the case: via the front, rear, top or base? Will they need access while the case is in the rack?
Step 3: Standard/customised or bespoke?
Customising a standard enclosure is usually quicker and more cost-effective than opting for a bespoke housing. Not always: simple bespoke cases can be cheaper but customised is usually better.
Determined to go bespoke? Ask your enclosure partner about prototyping offers. Combining prototyping with an initial production run can offer exceptional value. Batch sizes can be as low as 10 for larger rack cases or 25 for smaller instrument enclosures.
Step 4: Which standard model is best?
Most designers take the standard/customised enclosure route. Choosing the right model is critical. Similar looking cases can offer different advantages. Expert advice pays dividends.
Does the preferred standard model offer all the required features? Is it available in a range of sizes? Can it be manufactured to a custom size in all three dimensions? What are the standard ventilation options? Does the enclosure have earthing studs on every panel?
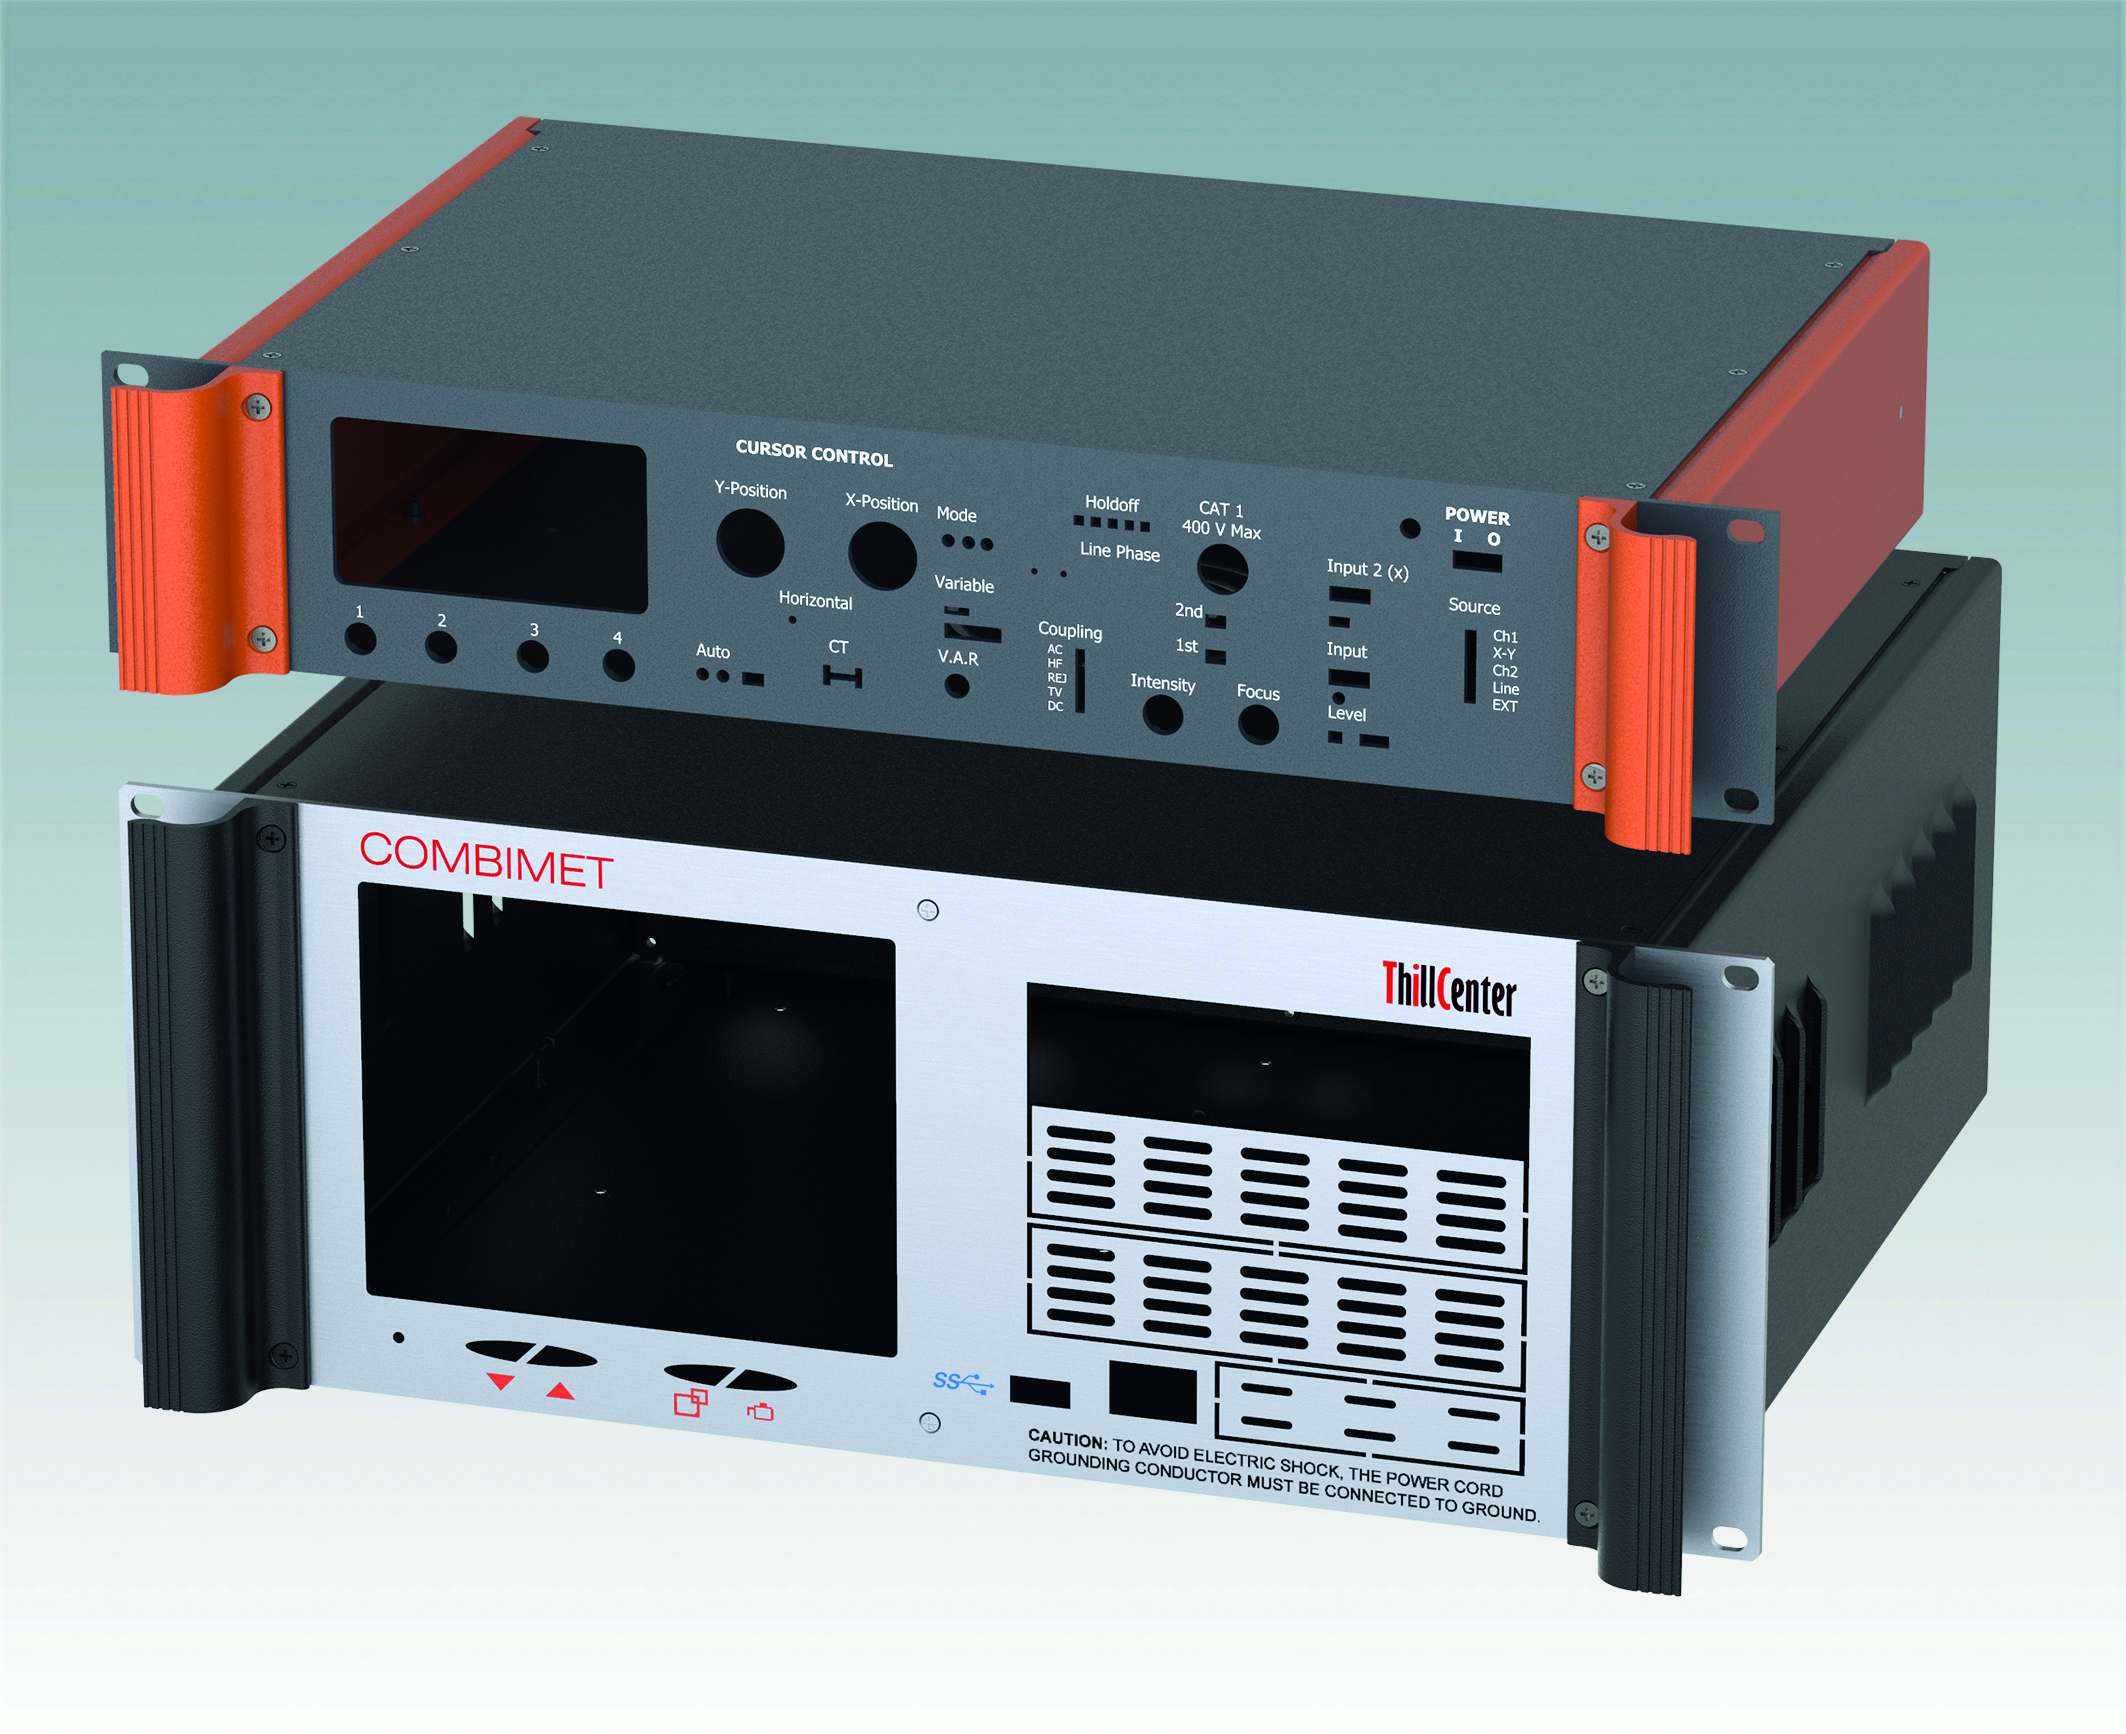
Bezels are key for two reasons: they enhance aesthetics but add cost; they are diecast, usually limiting custom sizes. However, enclosures without bezels don’t have to look prosaic. A flat front rack is elegant and offers a customisable enclosure at a sensible price. Metcase’s Combimet rack cases are an example.
Step 5: Download a 3D model
Downloading a 3D model of a preferred enclosure helps engineers spot design opportunities or pitfalls early. Specify apertures for controls/connectors and see exactly how components will look inside.
Presenting your enclosures supplier with a signed-off 3D model shortens the design process and speeds up production. Ask if 3D models are available for every enclosure in the range (as they are for Metcase). You will usually need to register to download the design-protected 3D models.
Step 6: Customising the standard enclosure
Metcase’s marketing director, Robert Cox, said: “It makes sense to order your enclosures from a single-source supplier so they’re fully customised and with all the accessories assembled. Your housings will be PCB ready when they arrive at goods-in so you can send them straight to your production line.”
Metcase’s customisation services include: CNC machining (punching, forming, milling, drilling and tapping); fixings and inserts (threaded studs for mounting PCBs, connectors and electronics assemblies); colours including ‘always in stock’ custom colours, panels, trims,legends and logos. Digital printing’s low set-up costs make customisation viable for low-volume orders.
Step 7: Project timings, how long will it take?
Customised standard enclosures will always be the fastest option because the manufacturer can concentrate on the customised parts.
For bespoke housings, finalising the design is usually the longest part of the process. A clear specification regarding component location speeds the process. However, multiple prototypes may be needed, extending timings.
Metcase’s project delivery times are typically four to eight-weeks for customised standard enclosures and six to ten-weeks for bespoke projects.